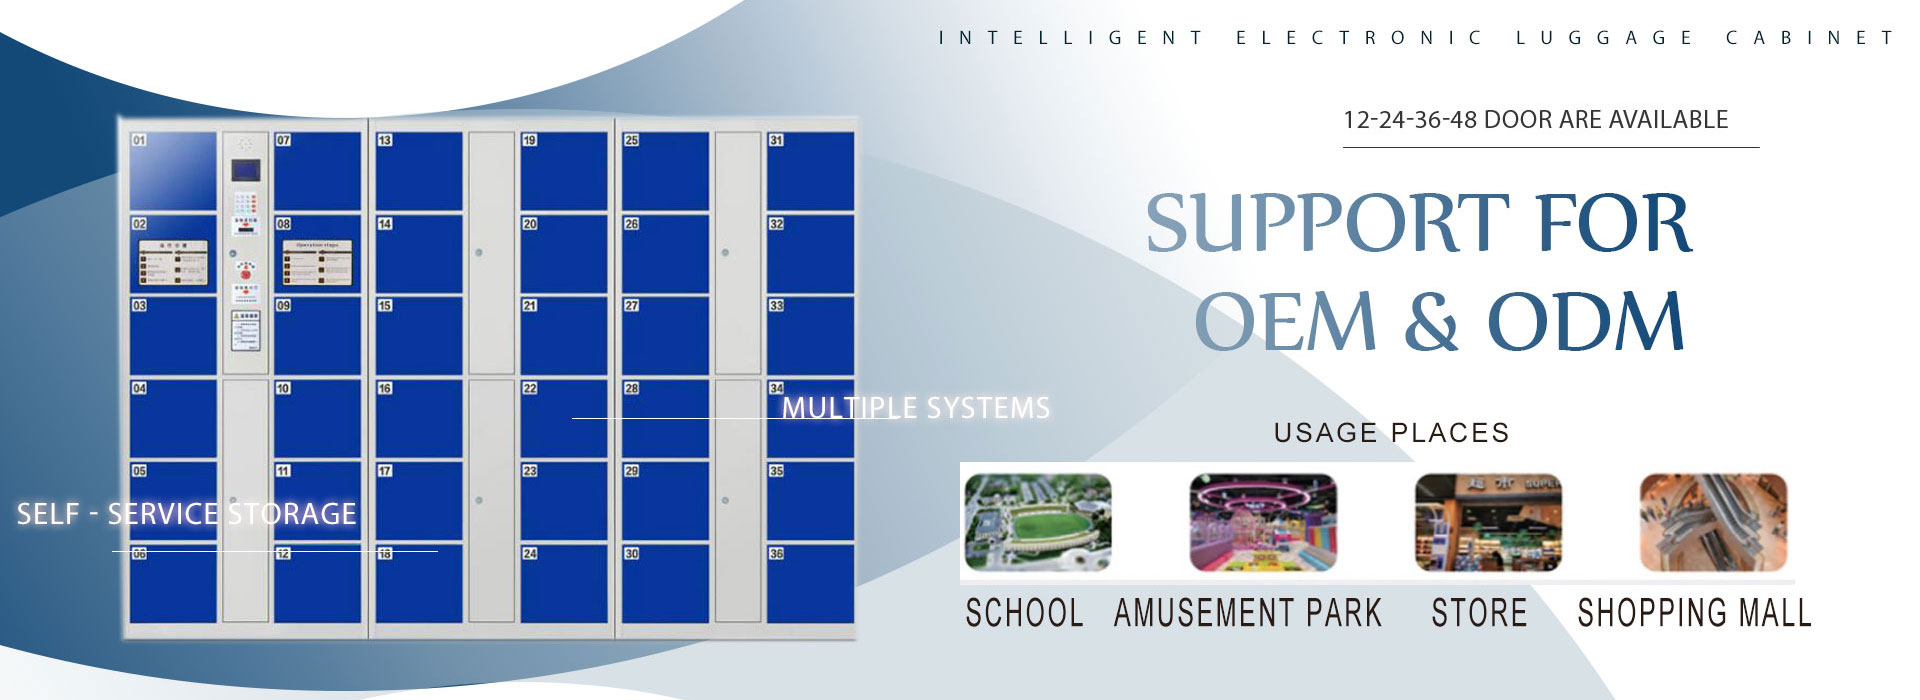
Traditional lockers often fall short: they’re prone to lost keys, time-consuming manual checks, and limited space for backpacks or sports gear. Enter barcode lockers—a smart, tech-driven solution that’s revolutionizing how schools manage storage. From elementary campuses to university dorms, more institutions are making the switch. But why? And how do you pick the right size for your school’s needs? Let’s break it down.
Why Schools Are Switching to Barcode Lockers
Barcode lockers solve three core pain points for schools:
1. Enhanced Security & Accountability
Unlike traditional locks (where keys can be lost or shared), barcode lockers use unique QR codes or barcodes assigned to individual students. Each code is linked to a specific locker, so there’s no risk of unauthorized access. If a student forgets their code, administrators can quickly reset it—no more cutting locks or replacing hardware. This reduces theft and vandalism, giving parents and staff peace of mind.
2. Time-Saving Efficiency
Manual locker checks (e.g., counting keys or inspecting locks) eat up valuable staff time. With barcode systems, administrators can track locker usage in real time via software dashboards. For example, if a locker is left unlocked for too long, the system sends an alert—preventing misuse before it happens. Students also benefit: they can access their lockers in seconds by scanning a code, eliminating the frustration of fumbling with keys during busy class changes.
3. Space Optimization
Barcode lockers come in customizable sizes, so schools can maximize every inch of storage space. Whether you need small lockers for elementary students’ lunchboxes or large ones for high school athletes’ gear, there’s a configuration that fits. This is especially critical for older buildings where space is tight—barcode lockers let you store more without expanding your facility.
4. Cost-Effectiveness Over Time
While initial setup costs may be higher than traditional lockers, barcode systems save money in the long run. No more replacing broken locks or rekeying entire buildings after a security breach. Plus, many providers offer maintenance plans, reducing unexpected repair expenses.
How to Pick the Right Locker Size for Your School
Choosing the right size isn’t just about fitting stuff—it’s about aligning with your students’ needs and your school’s layout. Here’s a step-by-step guide:
1. Assess Student Needs
Different age groups have different storage requirements:
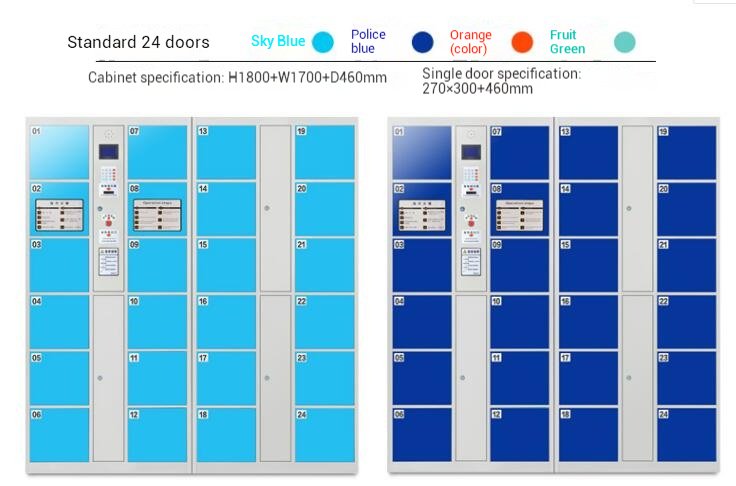
- Elementary/Middle Schools: Younger students typically carry smaller items (backpacks, lunchboxes, books). Opt for compact lockers (e.g., 270mm wide x 300mm deep x 460mm high) to prevent clutter and make it easy for kids to reach their belongings.
- High Schools/Universities: Older students often have larger items (sports equipment, musical instruments, laptops). Choose medium to large lockers (e.g., 450mm wide x 450mm deep x 600mm high) to accommodate bulkier gear.
2. Measure Available Space
Before ordering, map out your locker area. Measure the height, width, and depth of the wall or room where lockers will be installed. For example:
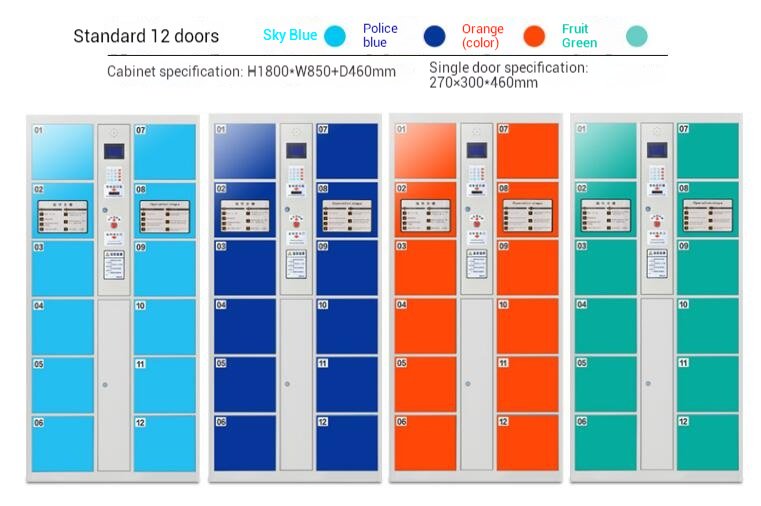
- A standard 12-door unit (as shown in the image) has cabinet dimensions of 1800mm height x 850mm width x 460mm depth, with each door measuring 270mm x 300mm x 460mm.
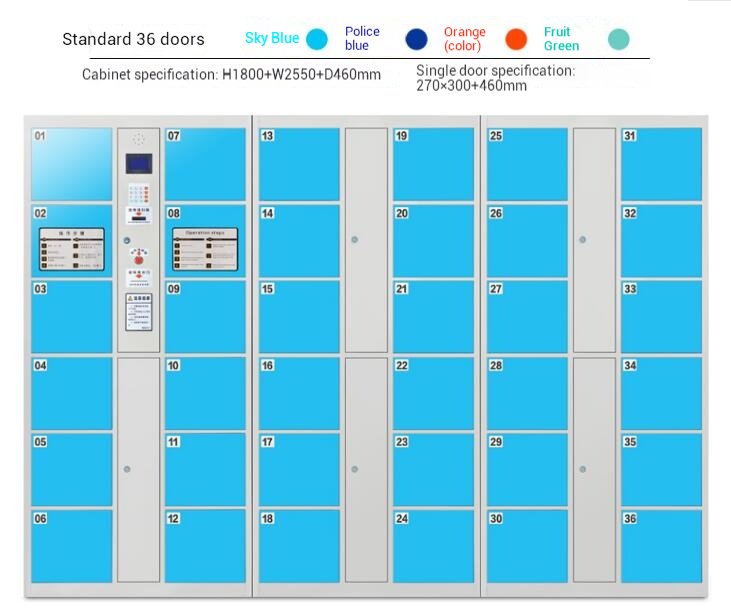
- A 36-door unit (as pictured) measures 1800mm height x 2550mm width x 460mm depth, perfect for larger hallway installations.
3. Consider Layout & Accessibility
- Rows & Columns: Decide how many rows and columns you need. A 6-row x 6-column setup (like the 36-door locker) works well for medium-sized schools, while larger institutions might opt for 8×8 or 10×10 configurations.
- Accessibility: Ensure lockers are placed at a height that’s easy for all students to reach. For younger kids, keep lower lockers within arm’s length; for taller students, higher lockers are fine.
4. Check Durability & Material
Schools need lockers that can withstand daily wear and tear. Look for options made from heavy-duty steel (powder-coated for rust resistance) or high-impact plastic (ideal for wet areas like gym locker rooms). The lockers in the image feature a sturdy steel frame with a smooth, easy-to-clean surface—perfect for busy hallways.
Real-World Examples: Schools That Made the Switch
- Lincoln Elementary School (Ohio): Replaced outdated metal lockers with compact barcode lockers. Results: 40% fewer lost items and 25% less time spent on locker checks.
- Riverside High School (California): Installed large barcode lockers in the gym. Athletes now store gear securely, and coaches spend less time managing locker assignments.
- Springfield High School: After switching to barcode lockers, theft reports dropped by 70%, and administrative time spent managing lockers was cut in half.
Final Tips for Choosing Barcode Lockers
- Test Before You Buy: Ask vendors for samples or demos to see how the lockers feel and function.
- Prioritize Software: A good barcode system should include user-friendly software for administrators (to track usage) and students (to generate codes).
- Think Long-Term: Choose lockers that can adapt as your school grows—modular designs (like the 36-door unit) let you add more units later.
Barcode lockers aren’t just a trend—they’re a practical solution for modern schools. By prioritizing security, efficiency, and scalability, they address the unique challenges of educational environments. When choosing a size, focus on what you’re storing, how much space you have, and who will use the lockers. With the right fit, you’ll create a safer, more organized campus that benefits everyone.